Select Hosts from the left list.
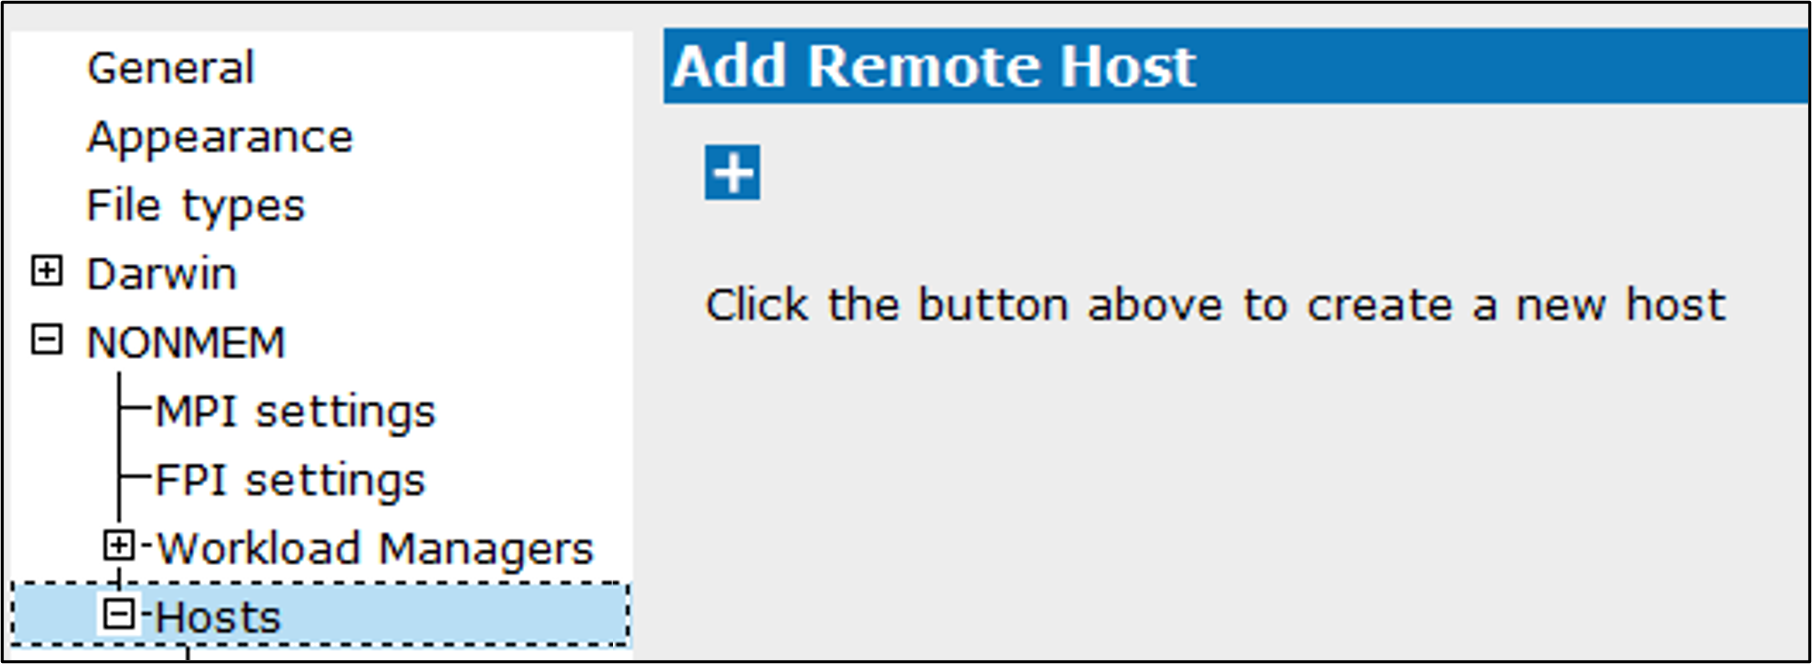
Click ![]() .
.
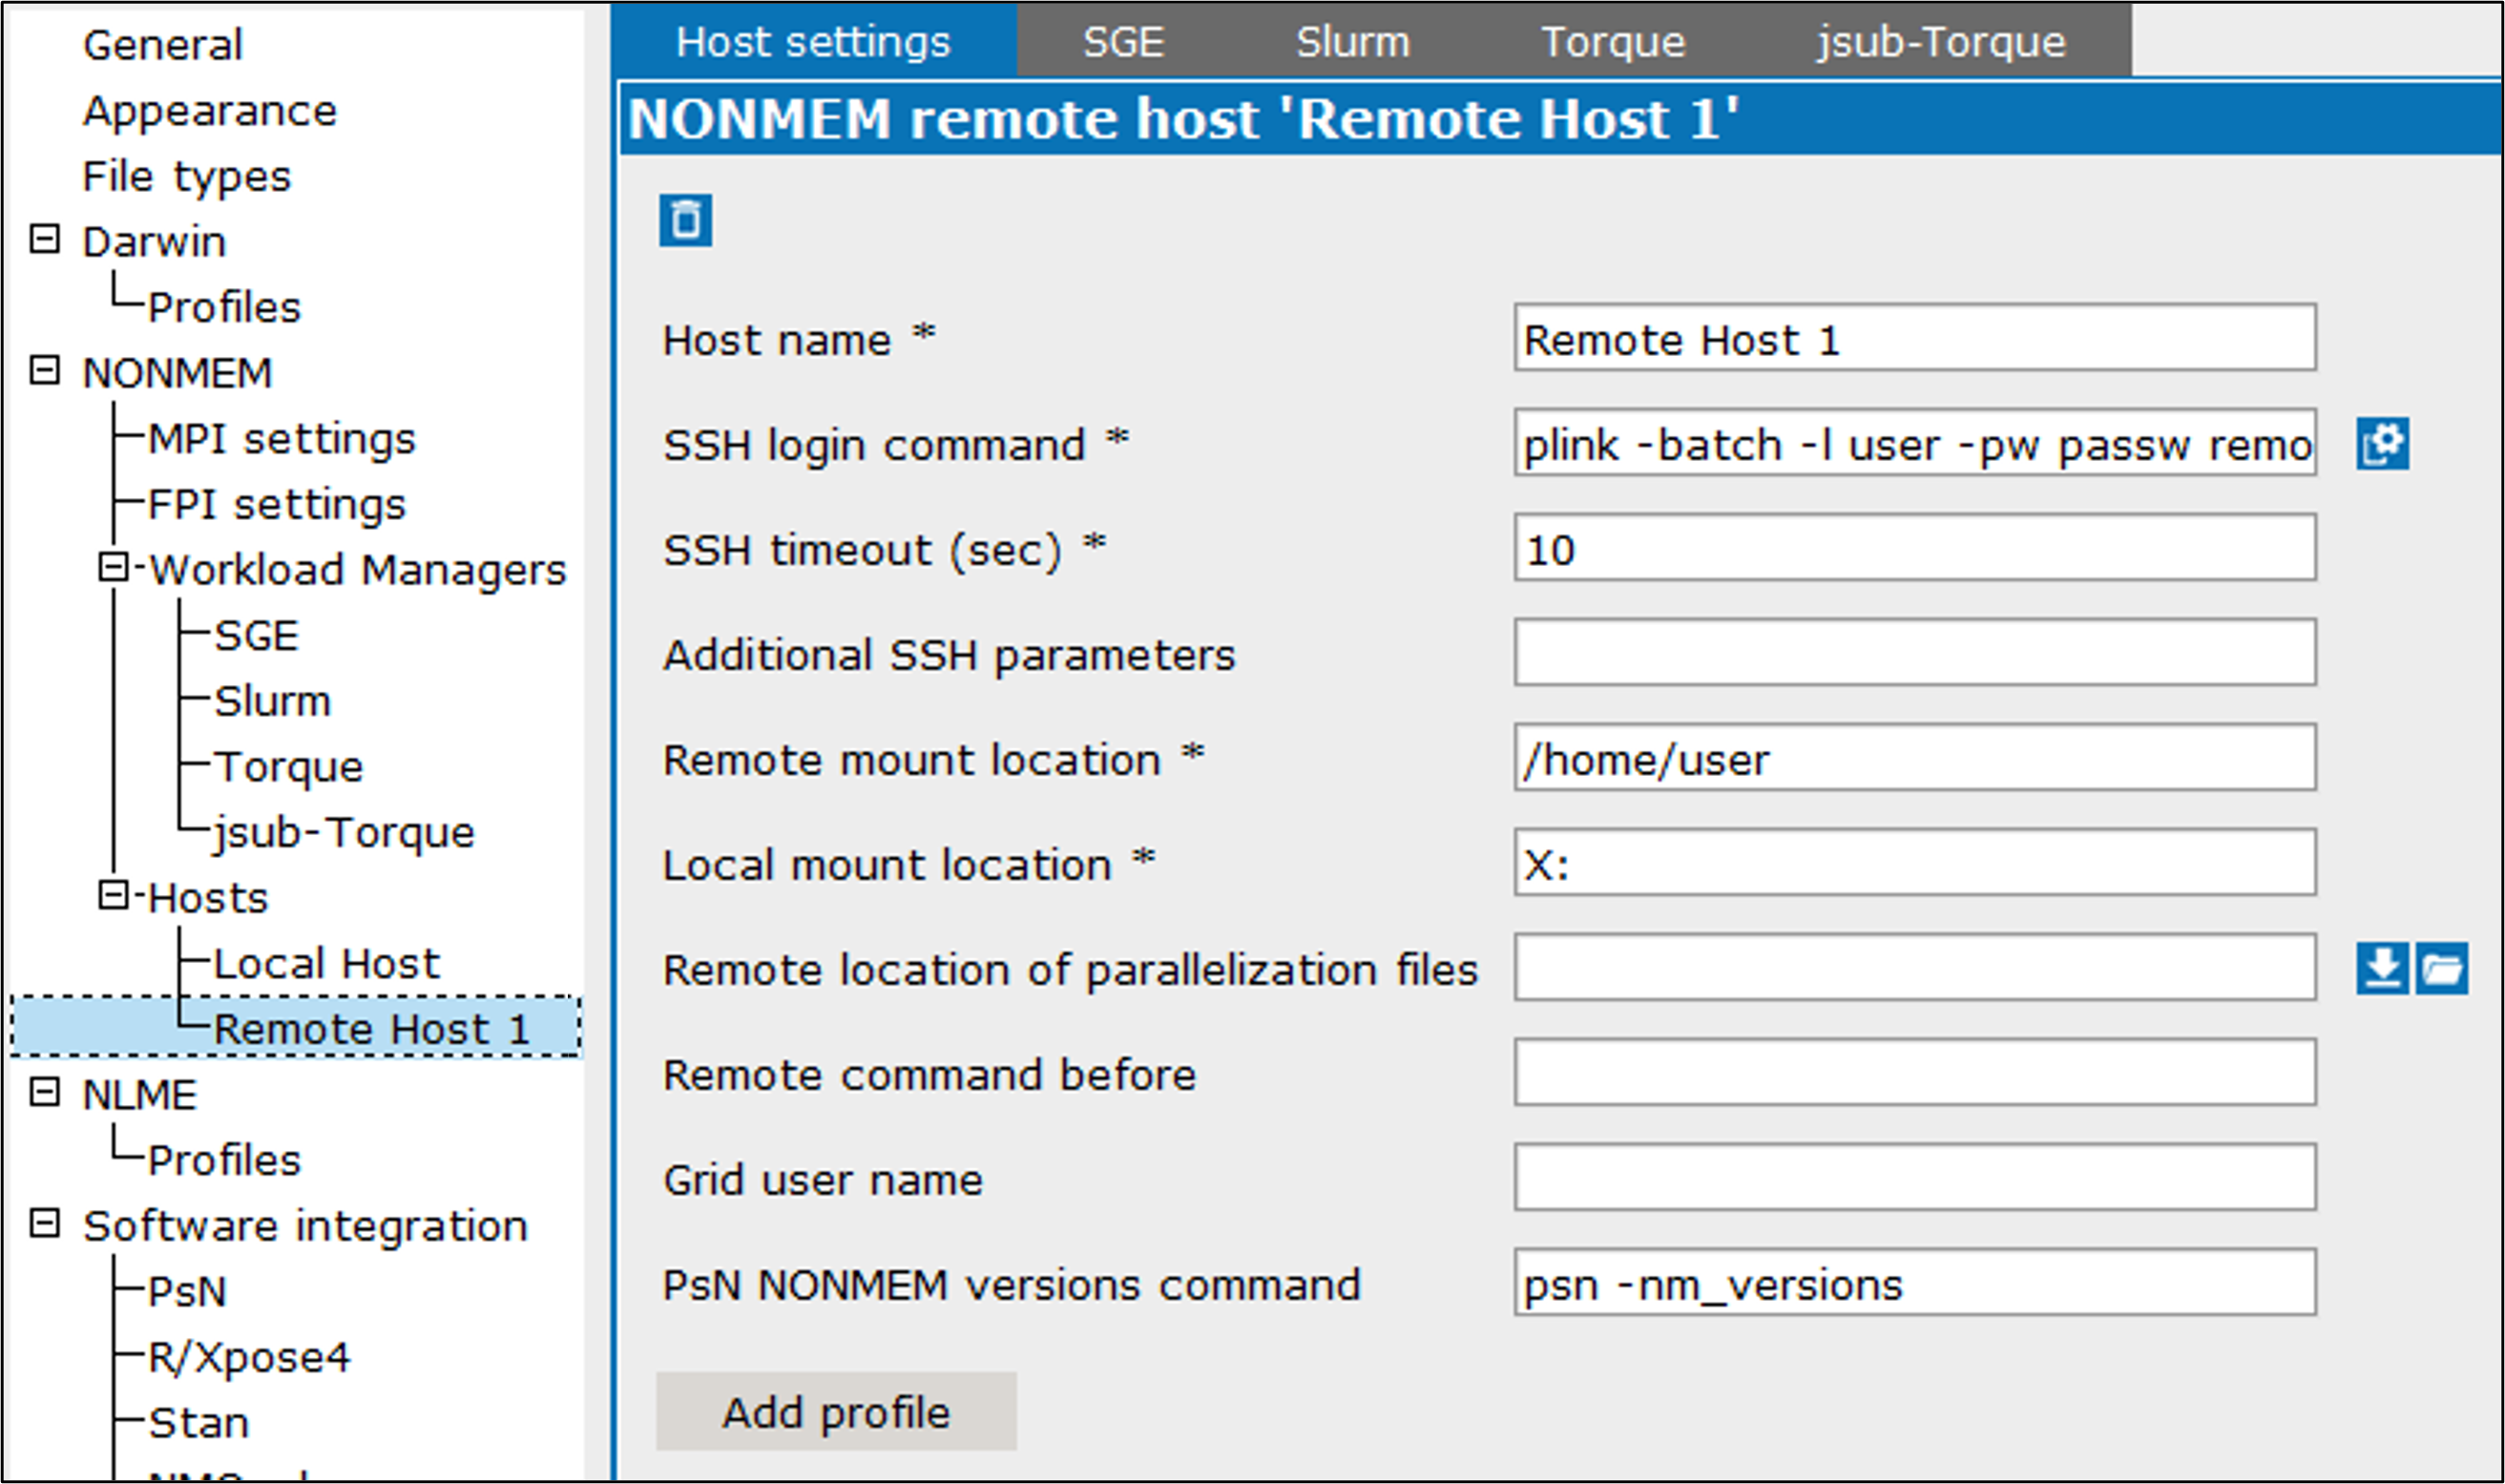
In the Host settings tab, enter a name for the remote host profile in the Host name field.
Click ![]() to have Pirana locate the ssh-keygen or, in the field SSH login command field, edit the command for connecting to the host, such as:
to have Pirana locate the ssh-keygen or, in the field SSH login command field, edit the command for connecting to the host, such as:
ssh user@server.domain.ext
If PuTTY is used, this command will start with “plink”, followed by the username and password for the remote host, and the name or IP address of the host access node (e.g., plink -l smith -pw xxx 10.181.0.1).
Pirana needs passwordless SSH-access to the host, so make sure that an RSA key pair is installed (explained in the “Installing public and private authentication keys” section). If you use PuTTY on Windows, you can also choose to supply the password on the command line instead as follows:
plink -l username -pw password server.domain.ext
Edit the amount of time (in seconds), in the SSH timeout field, that SSH should wait for a response from the remote host before returning a timed-out error.
If there are any SSH parameters that need to be set, enter the information in the Additional SSH parameters field.
In the Remote mount location field, edit the path to the folder on the remote host that is mounted as a local drive, typically /home/username (e.g., /home/smith).
In the Local mount location field, edit the drive-letter on the local system that corresponds with the remote host path defined in the previous field, such as X: or V:.
In the Remote location of parallelization files field, enter the remote machine path to the folder where the parallelization files are stored (e.g., /home/smith/parfiles).
Or
Click ![]() to download the folder from the remote machine to a local folder.
to download the folder from the remote machine to a local folder.
Or
Click ![]() to navigate and select the folder.
to navigate and select the folder.
If there are any commands that need to be executed before connecting to the remote machine, enter them in the Remote command before field (e.g., source /etc/profile).
In the Grid user name field, enter the username to use when logging into the grid.
Edit the PsN command for locating installed NONMEM versions in the PsN NONMEM versions command field.
Press the Add profile button to create a profile to use when running on this remote host (see “To create a profile”).
There are individual tabs of settings for workload managers. The following image shows the SGE tab for a remote host.
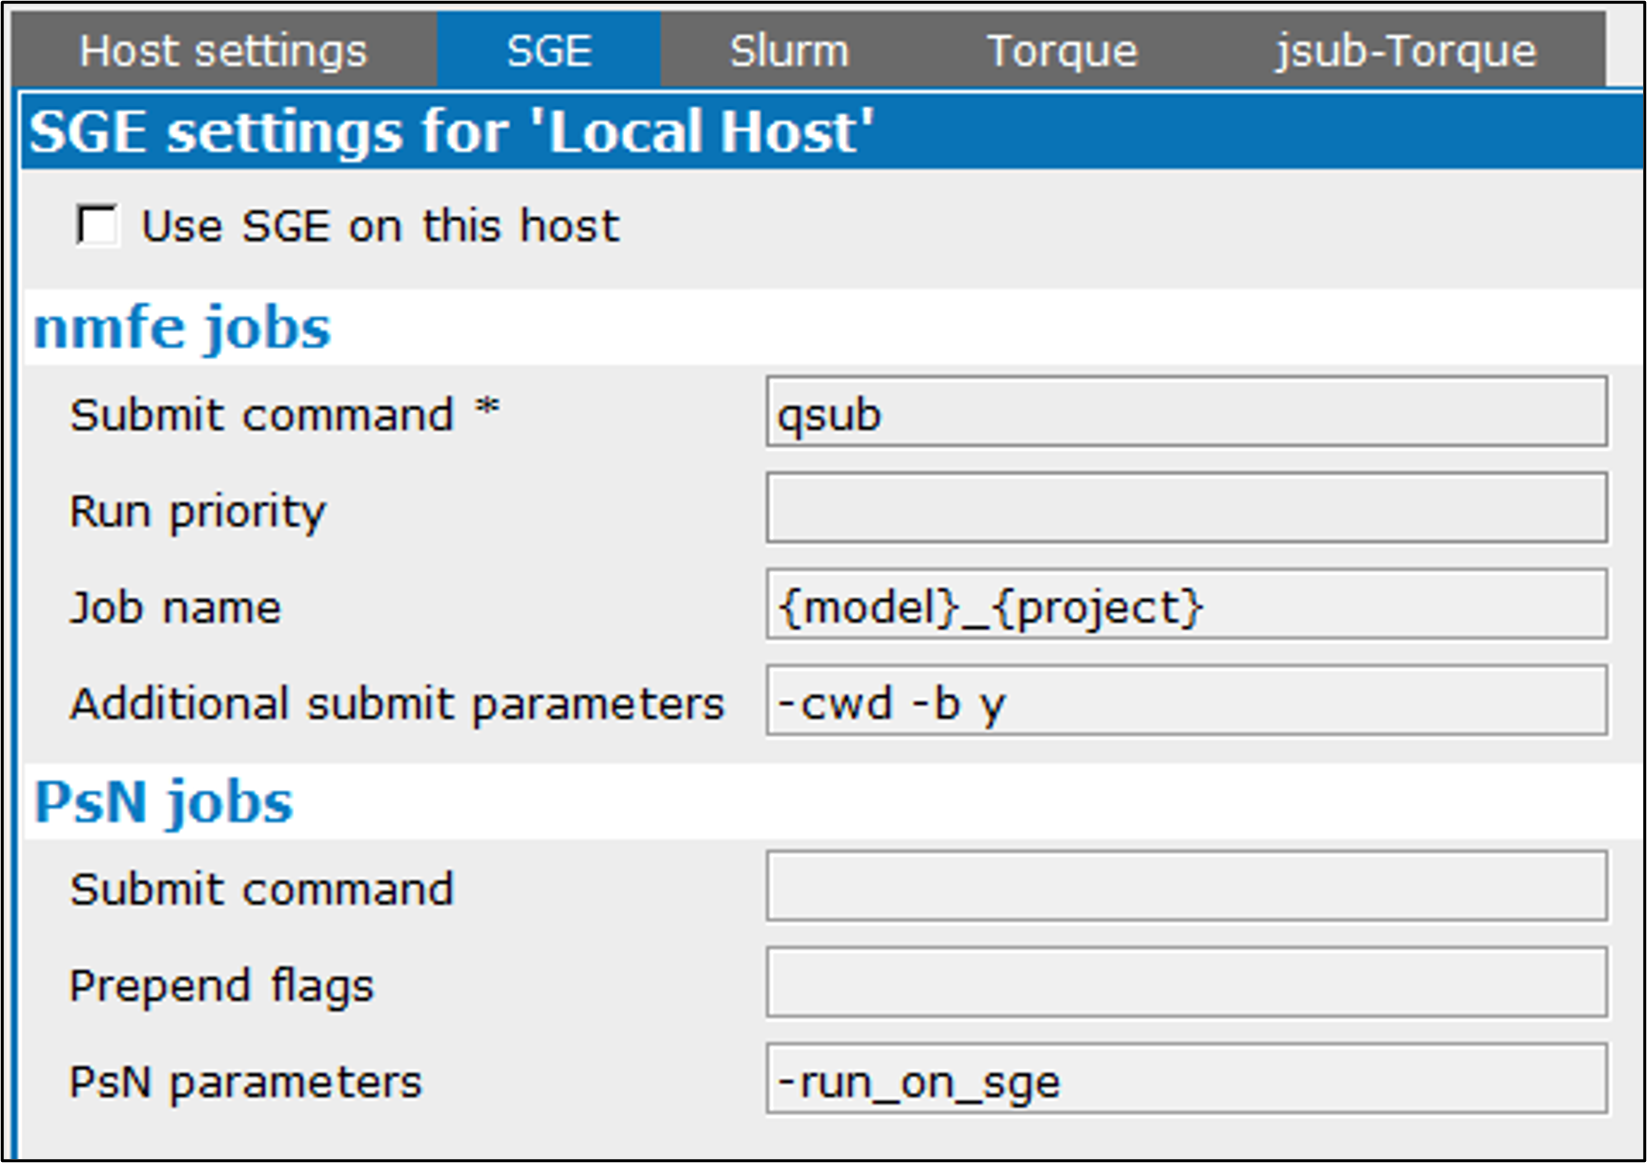
Check the Use <name> on this host box to include this workload manager in the list of available job schedulers when setting up an execution on this Host.
The default values of each tab are from the corresponding workload manager’s Job submitting tab. For descriptions of the settings, refer to the “Job submitting settings” section. By modifying the values, the defaults are overridden, thereby creating customized settings for a particular host.
Use the Defaults button to reload the values from the corresponding workload manager’s Job submitting tab (refer to the “Job Submitting Default Values” table).
Select the name of the remote host (under NONMEM > Hosts) from the left list.
Modify the settings as needed.
Select the name of the remote host (under NONMEM > Hosts) from the left list.
Click ![]() at the top to delete the remote host and return to the Add Remote Host page.
at the top to delete the remote host and return to the Add Remote Host page.
Note: A remote host that has not yet been saved is deleted immediately. Otherwise, the deletion will not occur until the Save and close button is used in the Settings dialog.