The PKS Save option is enabled when a scenario is created or loaded into the Object Browser. The PKS Save As option is used to save a scenario with a new name to create a new branch.
Note: Windows has a maximum file path limit of 255. PKS operations involve creating projects/objects based on names generated from the study and scenario names. These object/projects will be saved to disk using the temp paths. This combination can result in file names (path+filename) that exceeds the Windows limit of 255 characters. To avoid potential issues with Phoenix operations due to exceeding this limit, maintain smaller study and scenario names, and/or change the tmp/temp environment variables to a shorter path (i.e., C:\tmp).
Load a scenario as a project from PKS into Phoenix and make any changes to the project using the instructions in “Creating a Scenario”.
Select the scenario in the Object Browser.
Select PKS > Save or Save As.
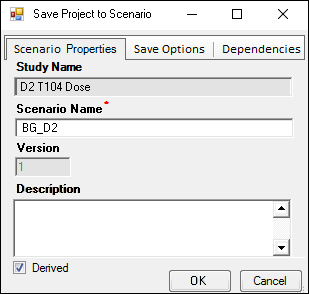
In the Scenario Properties tab of the Save Scenario dialog, the Study Name and Scenario Name are already entered, based on the project information.
Accept the default scenario name or type a new name in the Scenario Name field.
Enter a description in the Description field or leave the default description.
Clearing the Derived checkbox to enter a new name for the scenario and save it as version one of a new scenario. Checking this box saves the scenario as a subsequent version of an existing scenario.
Select the Save Options tab.
In existing scenarios, modify save options in the Save Options tab, or apply default save options.
Press Re-apply Default Save Options to apply the default settings as set in the PKS Preferences.
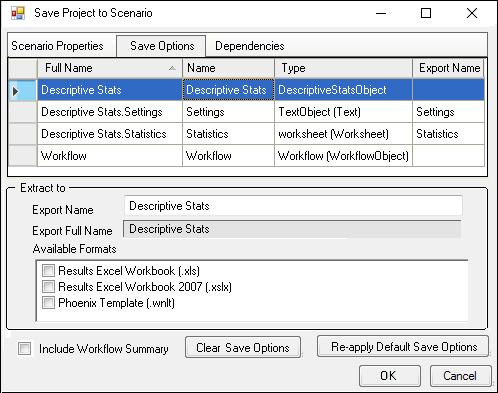
The Save Options tab displays objects in the current scenario that can be exported or saved to additional formats in the PKS.
Exporting objects using the Save and Save As functions allows objects to be viewed in the PKS Web interface, shared in other PKS Scenarios, and referenced by reports or queries.
Default save options are applied to new scenarios. See “Configuring default save options” for instructions on setting default save options.
In the Save Options tab:
Select an object in the Save Options tab.
In the Export Name field, type a new name.
In the Available Formats field, check the format to be assigned to the selected object.
Check the Include Workflow Summary box to save the Workflow Summary.zip file in the scenario.
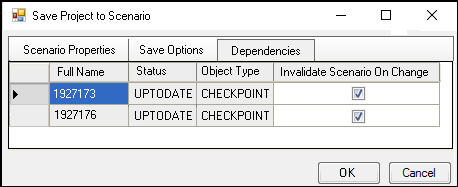
Select the Dependencies tab. The Dependencies tab allows setting of dependency tracking options.
 n
n
Objects loaded from the PKS into the current scenario are listed in the Dependencies tab.
The default setting for each dependency is Invalidate Scenario On Change, which causes the scenario to be marked as out-of-date if or when a different version of the object is saved to the PKS. Clear the Invalidate Scenario on Change checkbox to not mark scenarios as Out-of-Date if or when a new version of the object is saved to the PKS.
After setting the scenario properties, save options, and dependency customizations, press OK.
In the PKS Save dialog, enter an Audit Reason in the Audit Reason field.
Enter your password in the Password field.
Check the Submit as Job checkbox to submit the job.
(You can continue working in Phoenix or close it and the job will continue to run until completion.)
Use the PKS Job Viewer to monitor the status of submitted jobs.
Press OK to save the scenario.
The PKS Process Manager is displayed and shows the save progress.
When the processing is complete or the job is submitted, press Close to close the PKS Progress manager.
Note: Loading a PKS scenario and submitting the workflow to the JMS for processing can prevent the scenario from being saved if the PKS middle-tier URL has changed since the scenario was last saved. If this occurs, run the scenario locally and save it to the PKS again.