Note: The JMS Admin Tool should only be installed on the machines of JMS administrators. It is not included in a typical Phoenix installation.
Select the Custom option during Phoenix installation. 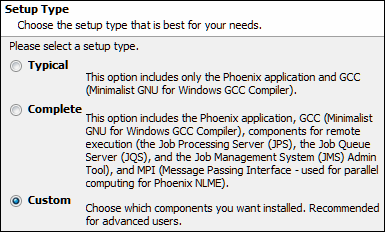
Expand the Phoenix Application node.
Select Will be installed on local hard drive for the JMS Admin Tool feature.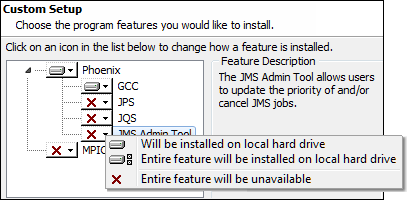
Continue with Phoenix installation.
Navigate to the Phoenix installation directory (e.g., for 64-bit machines: C:\Program Files (x86)\Certara\Phoenix\application).
Double-click JobManagementAdmin.exe.
Once the application is started it will display a list of jobs currently in the JMS queue.

Jobs are displayed in the order that they will be executed with the job that will be executed first at the top of the list.
Click the Set the priority for the selected job icon in the toolbar.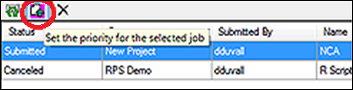
Use the Priority dialog to change the priority or promote the job within its priority.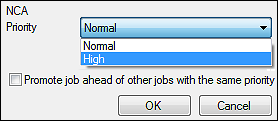
Click the Promote job… checkbox to execute the job before other jobs with the same priority, even if they were submitted prior to the job. If more than one job within a priority have been promoted, then submission time will determine which will be processed first.
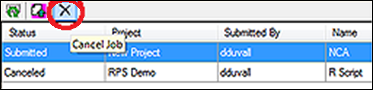
Select the job to be canceled.
Click Cancel Job icon in the toolbar.