-
Select a study to edit in the PKS Browser.
-
Click
 (Edit Study Data icon) (or right-click the study and select Edit Study Data).

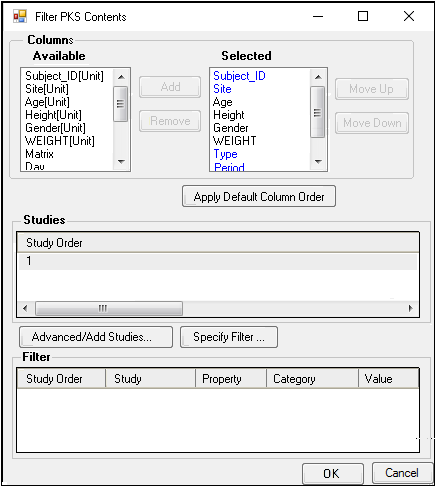
•In the Load Study Data dialog, accept the default study data columns in the Selected field.
OR
•Select a column in the Available list and click Add to move the column to the Selected list.
•Remove a column from the selected list by selecting it and clicking Remove.
•Change the column order in the Selected list by selecting a column and clicking the Move Up and Move Down buttons.
•To specify a filter to return desired subset of data, click Specify Filter to add a filter.
-
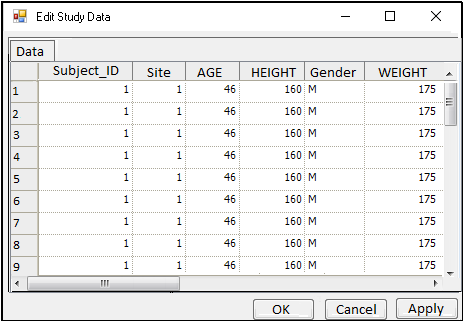
Click OK to retrieve the data and display it in the Edit Study dialog.

•Edit or insert values as needed.
-
Click Apply, which displays the PKS Save dialog.
-
Enter an Audit Reason in the Audit Reason field.
-
Enter your password in the Password field.
-
Click OK, which displays the PKS Process Manager.
-
Click Close in the Process Manager dialog.
-
Close the Edit Study Data dialog.
Data can only be appended to a study that already has been added to the PKS.
-
Select a study to append data to in the PKS Browser.
-
Click
 (Edit Study Data icon) (or right-click the study and select Append/Update Study Data).

-
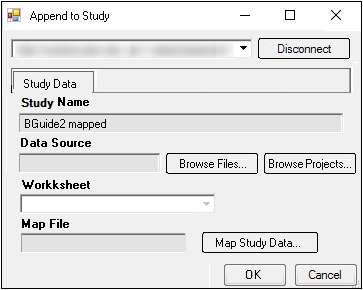
In the Append to Study dialog, select a data source by selecting a file or by selecting a dataset in a currently opened project.
To learn more about Study Data, see “Selecting a data source”.
•If the there are multiple worksheets, select the one to use as the source for creating the study.
If the selected data source is a workbook/worksheet, the File Import Wizard is displayed.
If a data source from a project is selected, the Select Object dialog is displayed.
•Select a worksheet in the Select Object dialog and click Select to add the worksheet as a data source.
-
Click Map Study Data.
-
In the Study Mapping dialog, assign the source columns to the appropriate tab.
See “Mapping study data” for instructions on using the Study Mapping dialog.
Users can load study mappings from a file. See “Loading a study map from a file” for instructions on loading a .map file.
Users can also load study mappings from the PKS. See “Loading a study map from PKS” for instructions on loading mappings from the PKS. -
Click OK to close the Study Mapping dialog.
-
Click OK in the Append Study dialog, which displays the PKS Save dialog.
-
Enter an Audit Reason in the Audit Reason field.
-
Enter your password in the Password field.
-
Click OK, which displays the PKS Process Manager.
-
Click Close to close the PKS Process Manager window.
The additional study data is incorporated into the first project.
